
This is a series of posts to build a M3 Lab from beginning to end so I get a better understanding of how all the components fit together. This is purely as a lab and doesn’t do any tuning and may even miss some version requirements.
Because there is a lot in the way of screenshots (these would have been invaluable as I was following the install guides!), I’m going to break this up in to 5 posts:
- Part 1 – Preparing the Servers, Installing SQL Server, LCM and loading the Foundational Components
- Part 2 – Installing the Business Engine, License Server and Create an Environment
- Part 3 – Installing and Creating the Grid
- Part 4 – Installing Smart Office
- Part 5 – All the fiddly bits, Regional Modifications, Autojobs
In this section I’ll run through the installation and general configuration of Smart Office itself. This shall include some of the supporting components needed within Smart Office.
Take a deep breath, this is a long and arduous road…well, actually, it’s not that bad – but there are a lot of screenshots 🙂
Install Smart Office
Here we will install Smart Office.
This assumes that the Smart Office server has already had the LCM Service installed and is registered against LCM.
Reference: ISOIG_1.1.0_LCM9_W.pdf
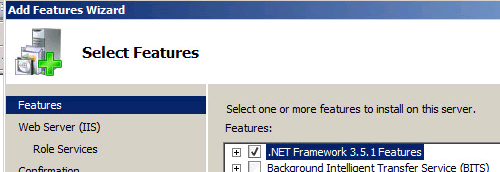
Ensure that .Net 3.5 is installed on the LCM Server (we require it for the SignTool). Under Server 2008r2 this is installed from the Server Manager, Add Features.
On the LCM Server, install the .Net4.0 (dotNetFx40_Full_x86_x64.exe) from Microsoft, then install .Net4.5 (dotNetFx45_full_x86_x86.exe)
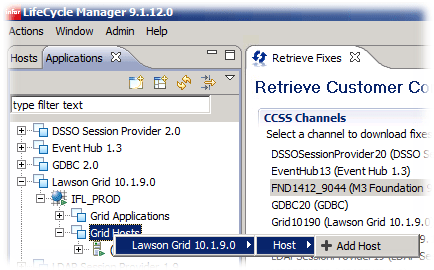
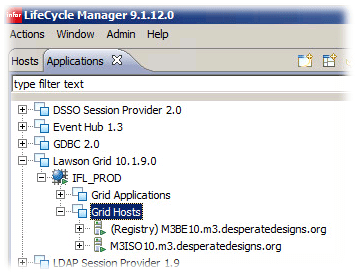
- LCM -> Applications -> Lawson Grid 10.1.9.0 -> IFL_PROD -> Grid Hosts, Right Click -> Lawson Grid 10.1.9.0 -> Host -> Add Host
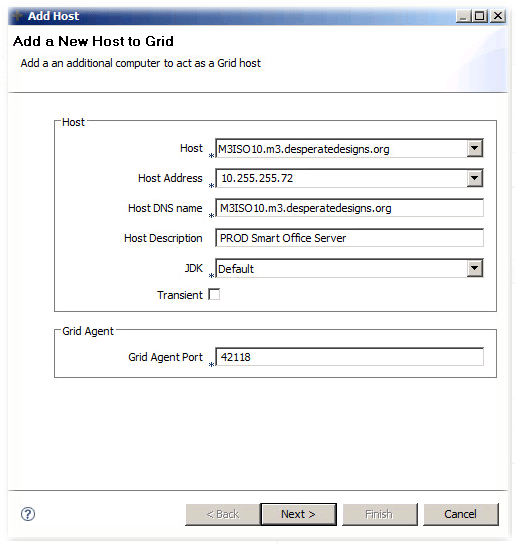
- I added a description – everything else is at the default
- And on the summary, click Finish
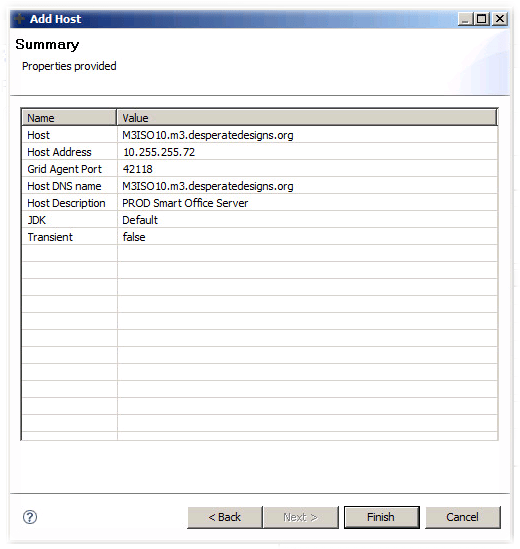
- The install should take under a minute
- And now you should see
- Upload the M3_UI_Adapters to LCM. LCM -> Admin -> Admin View -> Upload. Select the package

- Yes to verify the package
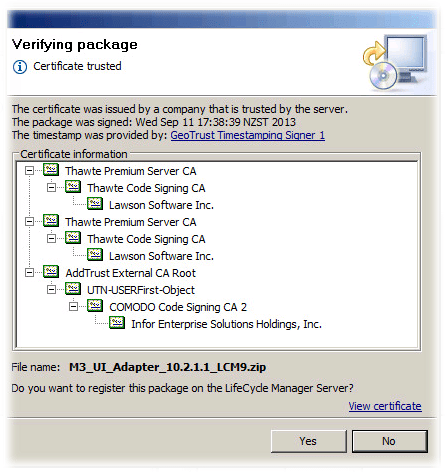
- Click OK
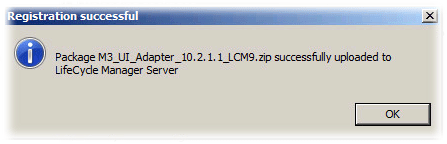
- Click No (as we want to upload the Smart Office package too)
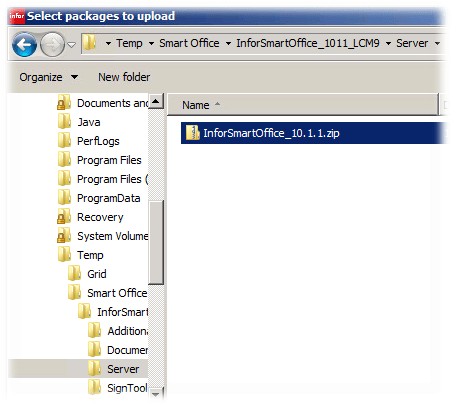
- Extract the Smart Office download (InforSmartOffice_1011_LCM9.zip)
- In LCM -> Admin -> Admin View -> Upload, navigate to the location where you extracted Smart Office, then in to the server directory where you should find InforSmartOffice_10.1.1.zip
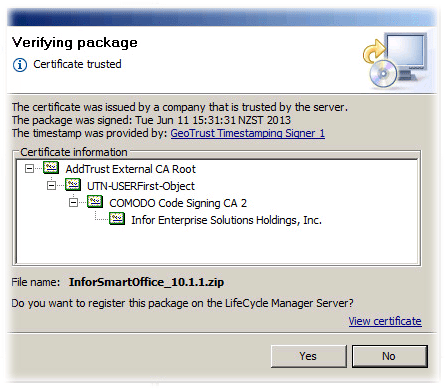
- Yes to verifying the package
- Click OK
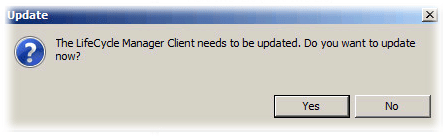
- Yes to update
- OK

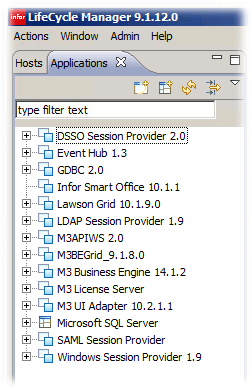
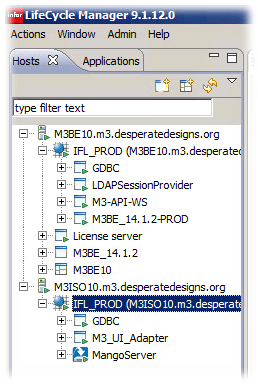
- Log back in and we should see Infor Smart Office 10.1.1 and M3 UI Adapter 10.2.1.1
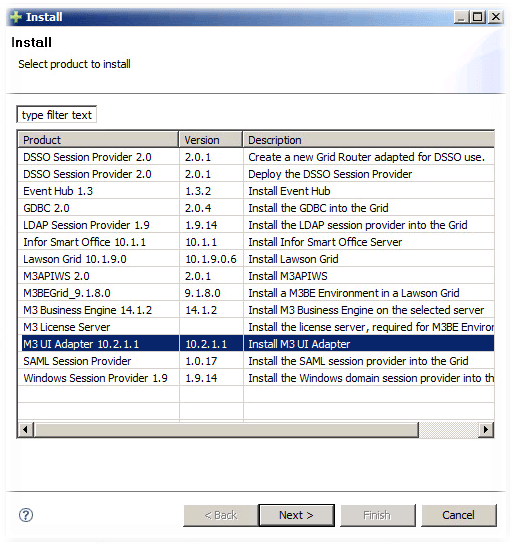
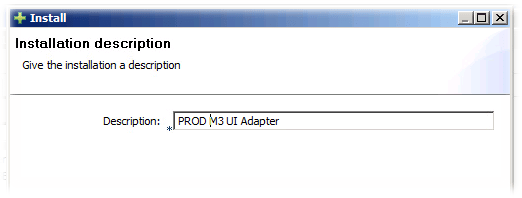
- Install the M3 UI Adapter LCM -> Actions -> Install -> M3 UI Adapter 10.2.1.1
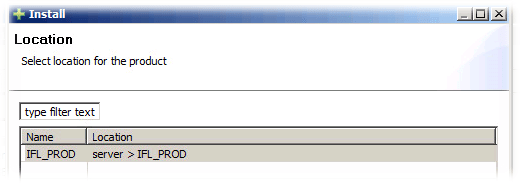
- We only have the one grid at this stage
- I’ve appended the ‘PROD’ environment to the description
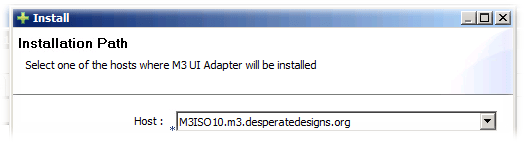
- We’re to install to my ISO server M3ISO10
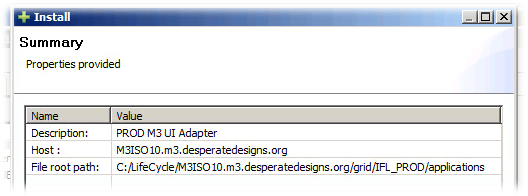
- I’ll be installing to C:\LifeCycle\MSISO10.m3.desperatedesigns.org\grid\IFL_PROD\applications (which is consistent with work)

Note: this is a poor place to put the directory, this is the actual data, so all the ViewDefinitions etc. I should have created a directory structure similar to work which is
LifeCycle\WLSO02\grid\IFL_PROD\applications\M3_UI_Adapter\webapps\mne\WEB-INF - And the summary
- You should get an install successful message and now we have our first component on our ISO server
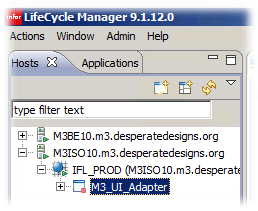
- We can now start it.
- Deploy GDBC on M3ISO10 – the Smart Office server. LCM -> Applications -> GDBC 2.0 -> GDBC, Right Click ->Lawson Grid 10.1.9.0 -> Application Maintenance -> Deploy Application on Hosts
We deploy because we can’t install – presumably because there is already a GDBC instance in this grid.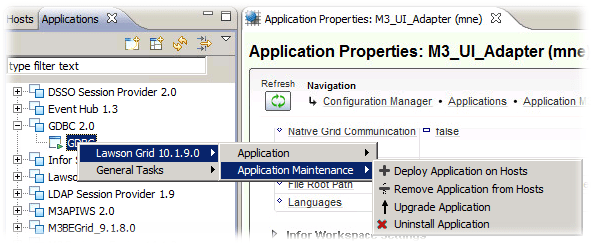
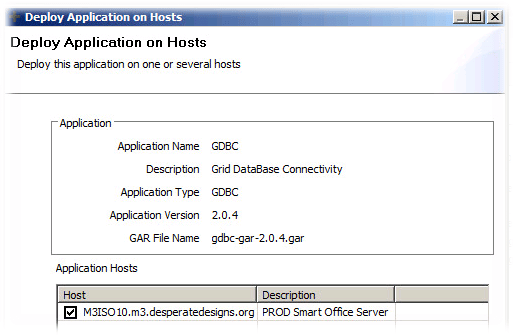
- Select the M3ISO10 server
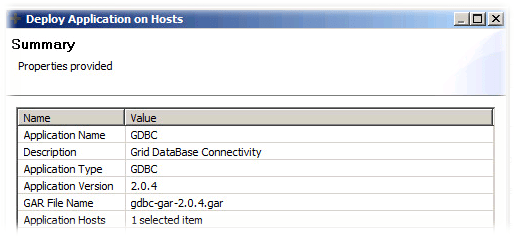
- Summary screen is displayed
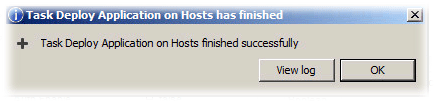
- After a few seconds the deployed application task message comes up
- Looking at the Hosts tree, we will now see we have the GDBC on our ISO Server

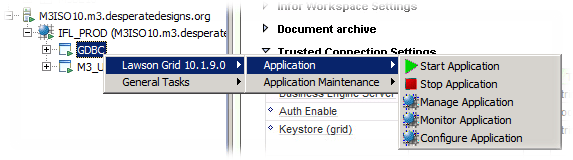
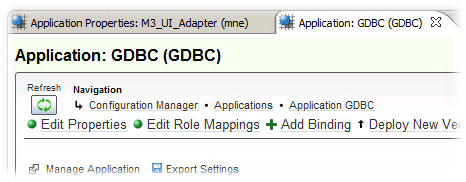
- Change the GDBC min & max heap sizes. Right click on the GDBC -> Lawson Grid 10.1.9.0 -> Application -> Configure Application
- Edit Properties
- Application Properties -> Grid Defined Properties -> Max Heap should be set to 512
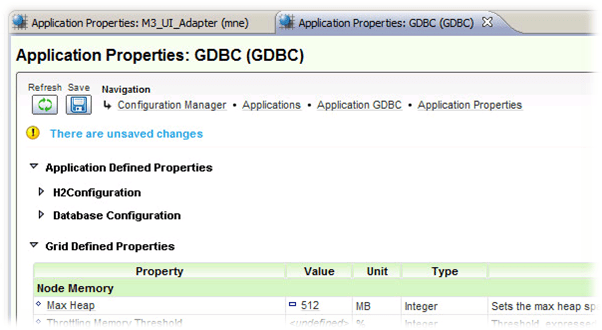
- Click Save
- Click Save

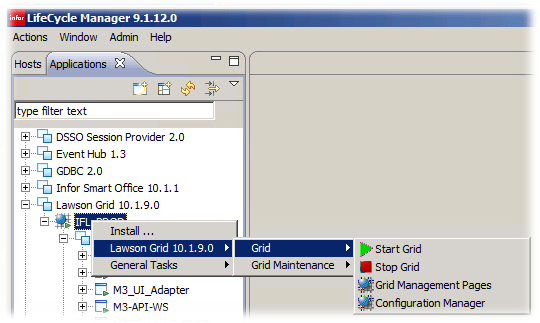
- Install Smart Office, we’ve already uploaded the Smart Office package, now we need to gather some information about the Grid. In LCM -> Applications -> Lawson Grid 10.1.9.0 -> IFL_Prod, Right Click -> Lawson Grid 10.1.9.0 -> Grid -> Grid Management Pages
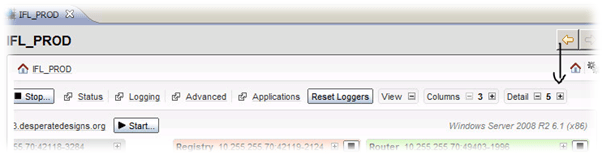
- Expand the View
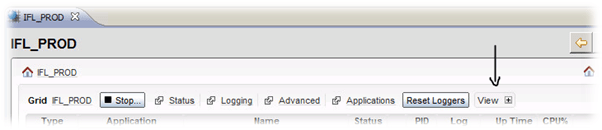
- Expand Detail
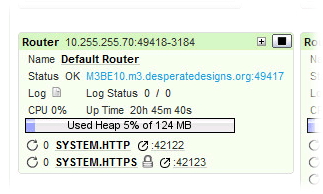
- Record the ports for the Default Router (http: 42122, https: 42123)
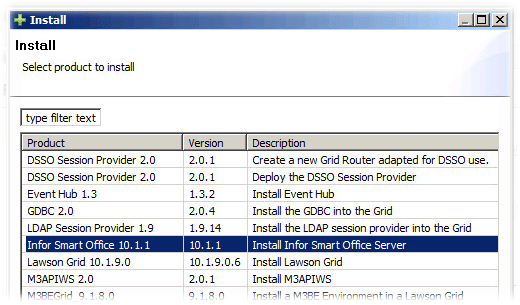
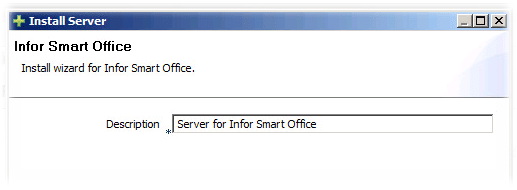
- Actions -> Install -> Infor Smart Office 10.1.1
- I have only installed one grid, so next

- I’ll leave it with the default description
- I’m creating my default System Profile Name as PROD and a Suffix of IFL_ISO10_1_PROD
The System Profile Name I believe relates to the profile within Smart Office itself that contains your settings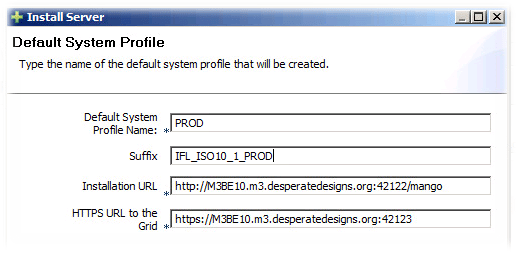
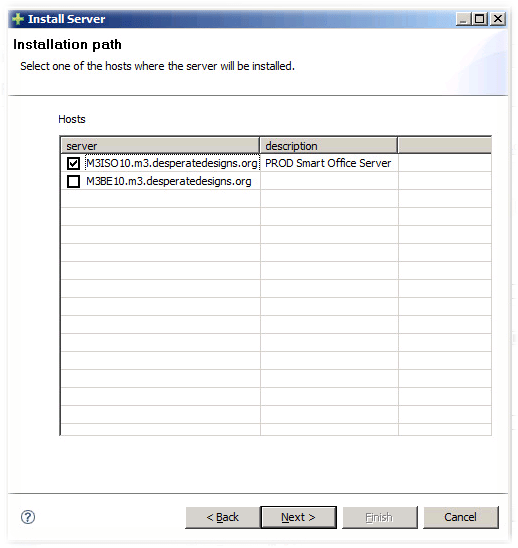
Note: that the ports are those that we recorded earlier! - Select the server that we are going to install against. M3ISO10
- And the Summary
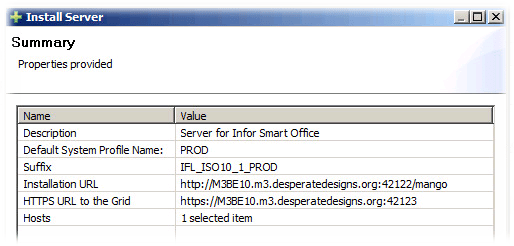
- Installation should take < 1 minute and you should see something like this (MangoServer takes several seconds to start, and it should do so automatically)
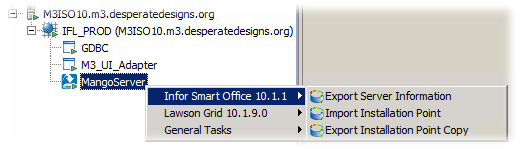
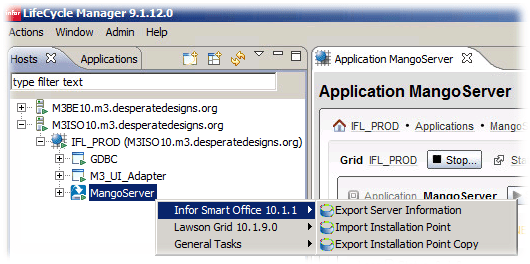
- Export the Installation Point. MangoServer -> Infor Smart Office 10.1.1 -> Export Server Information
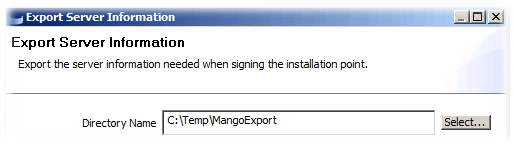
- You’ll be prompted for a location to export to. I’m going to export it to C:\Temp\MangoExport on my LCM Server
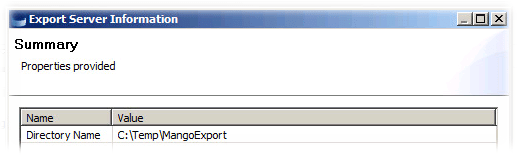
- We get a summary, click Finish
- And we get the Task Complete message

And should see the jadeconfig file in the directory we exported to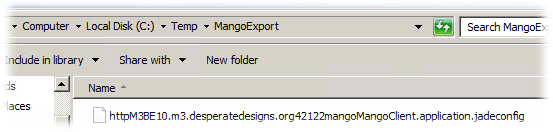
Now we need to sign it - We need to set up a cert for self signing the installation. To do this we need the SignTool which is in the “InforSmartOffice_1011_LCM9.zip” file we extracted.
We need to unzip the SignTool.zip which is under SignTool. I’m extracting this on my LCM Server (M3LCM10)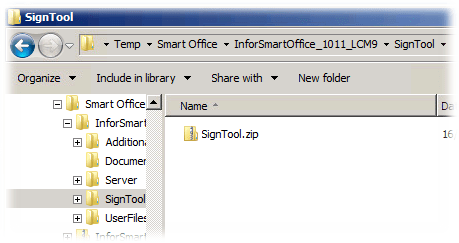
- You should see something like this

- If you haven’t already done so, install .Net3.5sp1, .Net4.0 (dotNetFx40_Full_x86_x64.exe) and .Net4.5 (dotNetFx45_Full_x86_x64.exe) from Microsoft
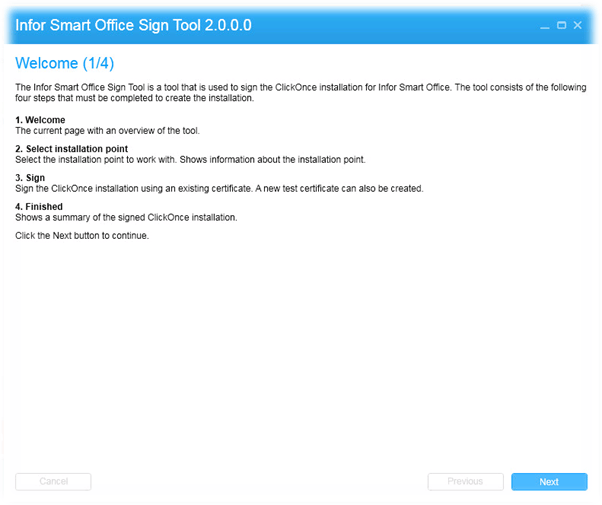
- Run the SignTool.exe
- At the Welcome window, click Next
- Select the .jadeconfig we exported earlier (I exported it to C:\Temp\MangoExport)

- Click on the Create a new self-signed certificate

- Give the Self Signed Cert a name, and select an appropriate location (I left it as the default which is the directory for the .jadeconfig file. I left the password blank :-O
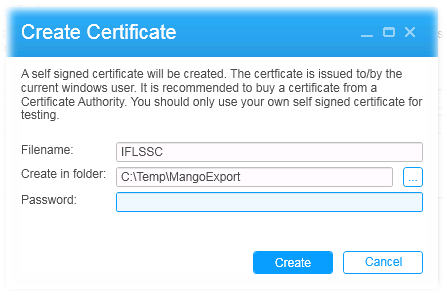
- If creation was successful, then the path to the file should be populated
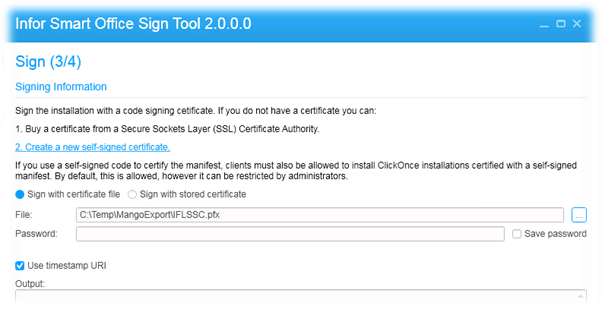
Click Next - It should now come up with a finished message.
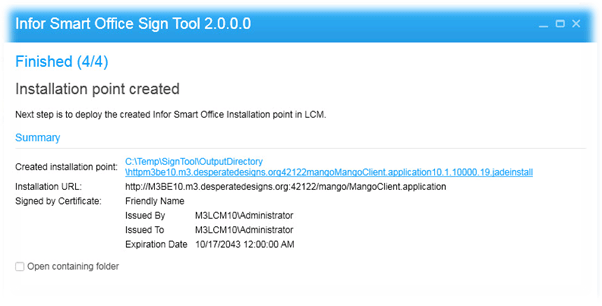
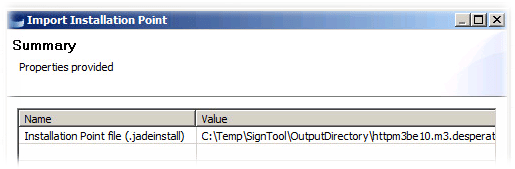
- In LCM we need to Import the Installation Point. On the MangoServer right click -> Infor Smart Office 10.1.1 -> Import Installation Point
- Navigate to the directory that the SignTool exported to (as noted on the Finished page)
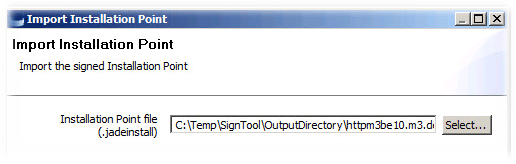
- Click Finish on the Summary page
- After a few seconds you’ll get the usual Task Import message
- Export the Certificate from the Grid. In LCM -> Applications -> Lawson Grid 10.1.9.0 -> IFL_PROD, Right Click -> Lawson Grid 10.1.9.0 -> Grid Maintenance -> Manage Security
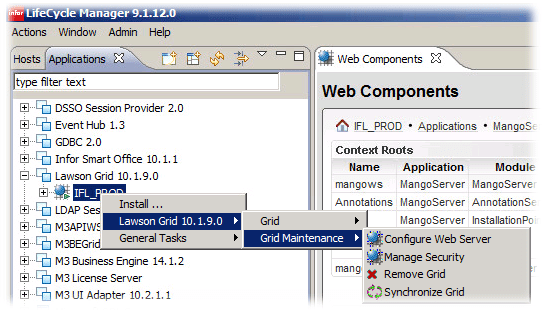
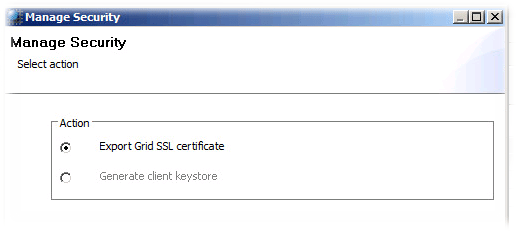
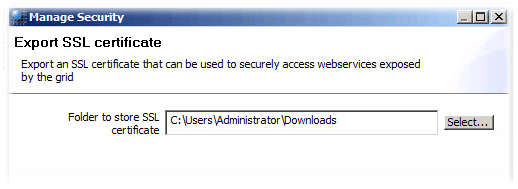
- We want to Export the Grid SSL cert
- Select a directory to export to
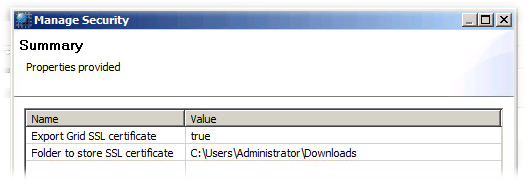
- At the Summary, click Finish
- And we get the following message
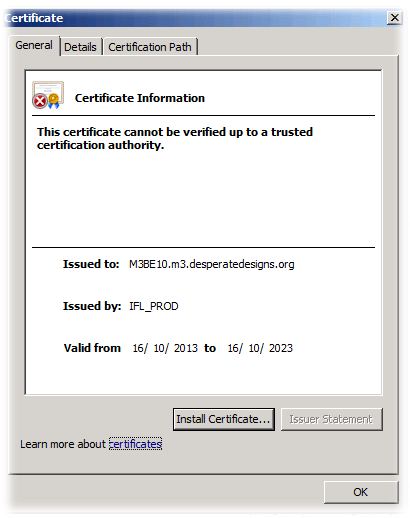
- Now navigate to the directory you saved the cert (C:\Users\Administrator\Downloads\) and double click on the IFL_PROD.der to install
- Click Install Certificate
- Click Next
- Select Place all certificates in the following store and set the store to Trusted Root Certification Authorities
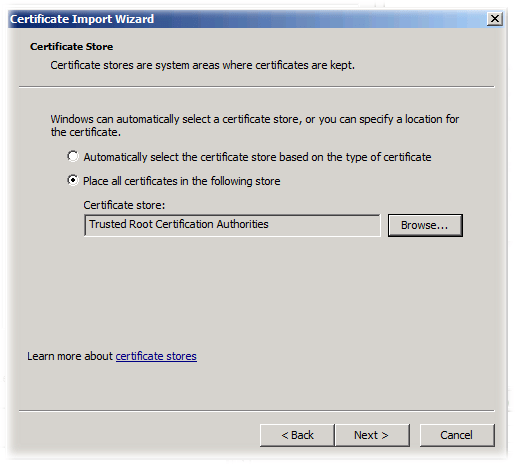
- Click Finish
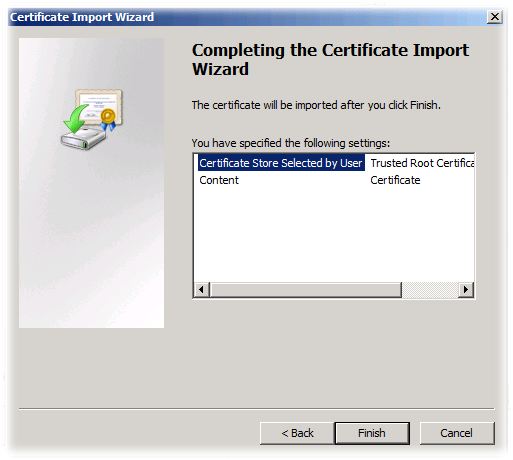
- Click Yes

- Click OK
-
I can now go to the installation point and install and run Smart Office
http://m3be10.m3.desperatedesigns.org:42122/mango/index.html
(This can be found by right clicking on the MangoServer -> Lawson Grid 10.1.9.0 -> Application -> Monitor Application -> Web Components)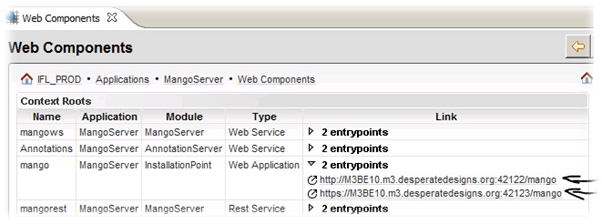

Of-course you won’t be able to do much at the moment as you don’t have any rights to do anything. 🙂
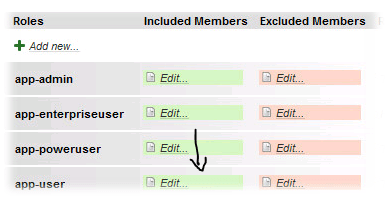
- In LCM, find the M3_UI_Adapter, Right Click Lawson Grid 10.1.9.0 -> Application -> Configure Application -> Edit Role Mappings
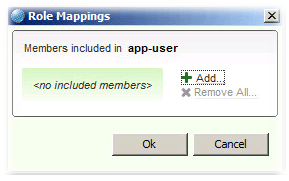
- Under app-user “Included Members” click Edit
- Click Add
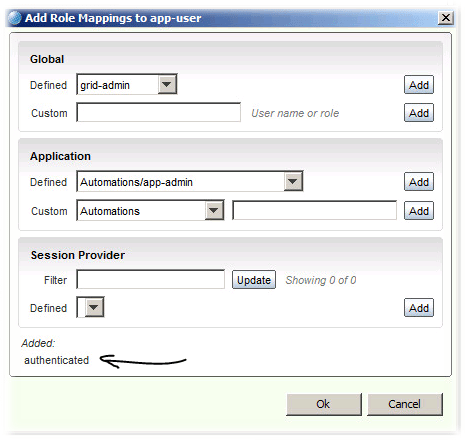
- Under Global, set the defined to authenticated and click Add

- We should now see authenticated at the bottom. Click Ok
- Click OK

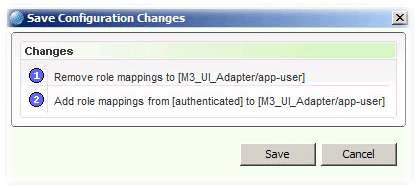
- Click Save
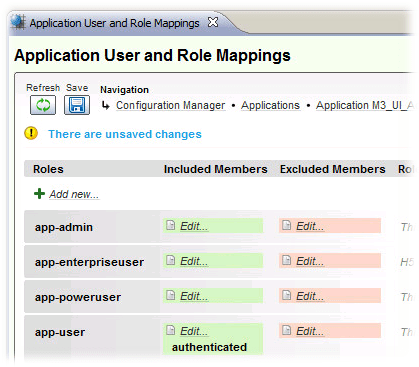
- Click Save
- We need to do the same thing for the MangoServer. Right Click on the MangoServer -> Lawson Grid 10.1.9.0 -> Application -> Configure Application
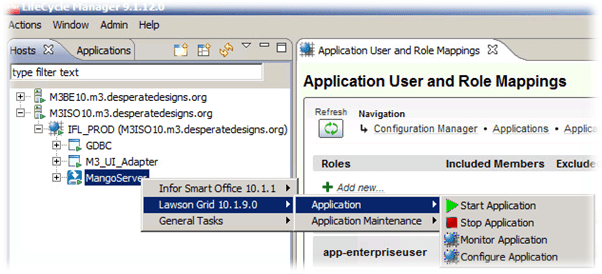
- Edit Role Mappings
- Under Administrator click Edit
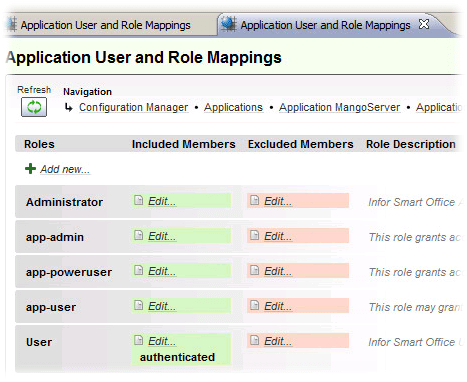
- Click Add

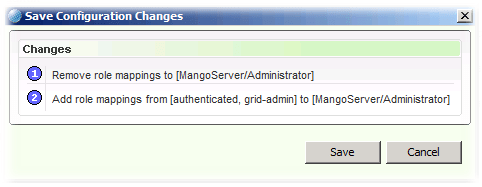
- Because I am lazy and don’t need to worry about other people having administrative access, I am going to once again use authenticated, and I’ll also add grid-admin so I can change that later if I decide to. Click Add
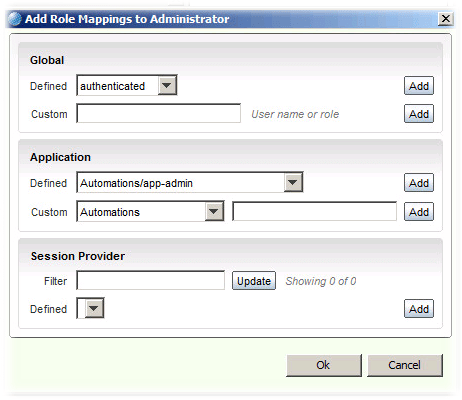
- We should now see that we have two entries
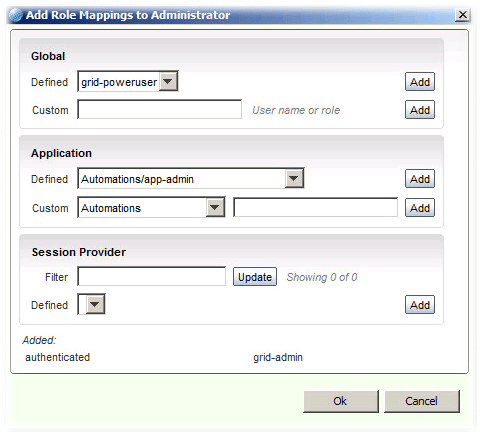
- Click on OK
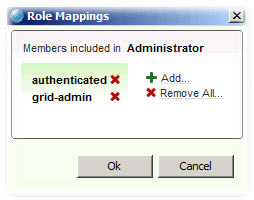
- Click on Save
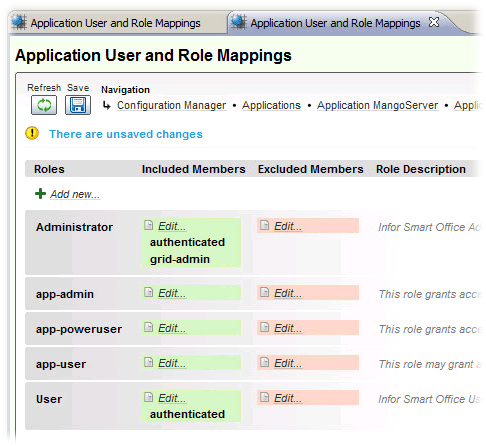
- Click Save
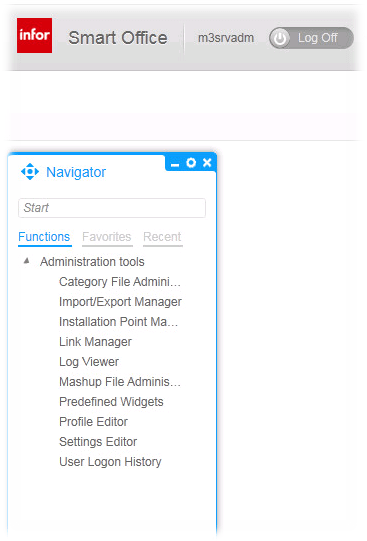
- Now when we start Smart Office we get the Administration Tools
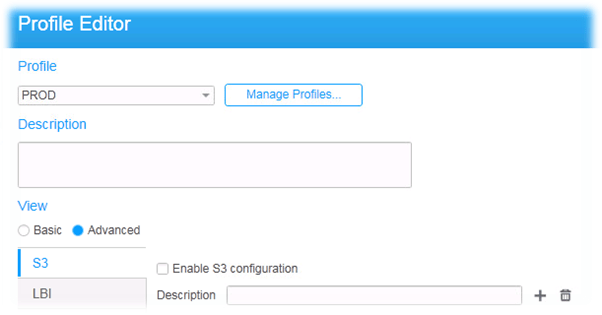
- Lets set up the Profile. Double Click on the Profile Editor and then click on Advanced
- Go down to M3 and Enable the M3 Configuration
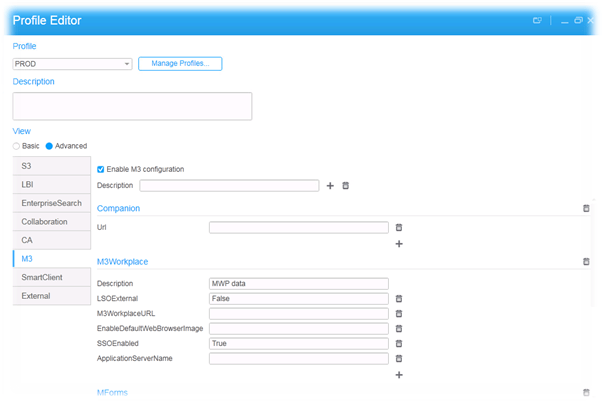
-
Scroll down to the MForms section
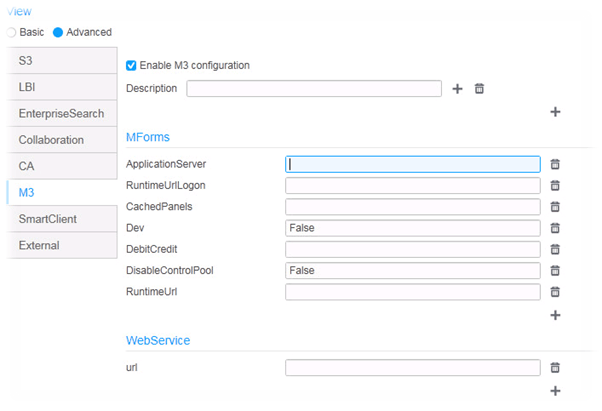
- Application Server. This can be determined by going in to LCM -> IFL_PROD -> M3BE_14.1.2-PROD, right click, Lawson Grid 10.1.9.0 -> Application -> Configure Application

Under the Connection Dispatchers we have the ME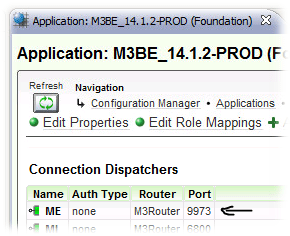
So we will use 10.255.255.70:9973 - RuntimeUrlLogon. We can get this from the default Router. So on the MangoServer, right click, Lawson Grid 10.1.9.0 -> Application -> Monitor Application
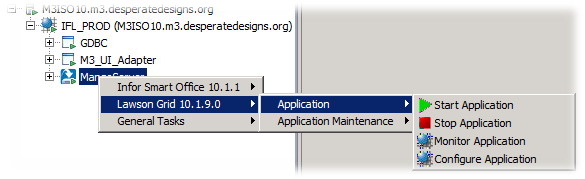
Web Components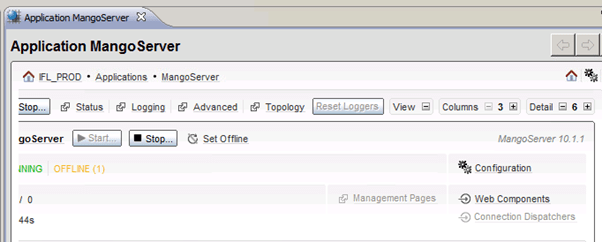
click on the Default Routers HTTP Port, this will open Internet Explorer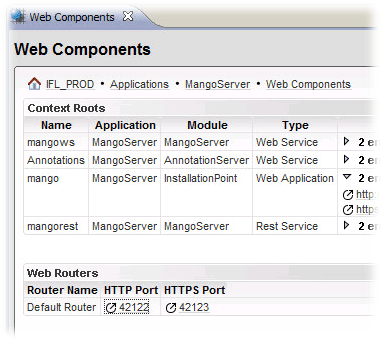
Copy the URI that is marked as mne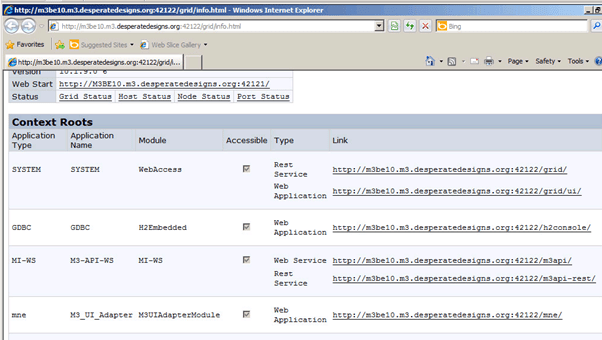
- RuntimeUrl. The same as the RuntimeUrlLogin
- Application Server. This can be determined by going in to LCM -> IFL_PROD -> M3BE_14.1.2-PROD, right click, Lawson Grid 10.1.9.0 -> Application -> Configure Application
- Filled out it should look something like this

I haven’t done the WebService because it isn’t installed yet. - Click Save.
- Exit from Smart Office
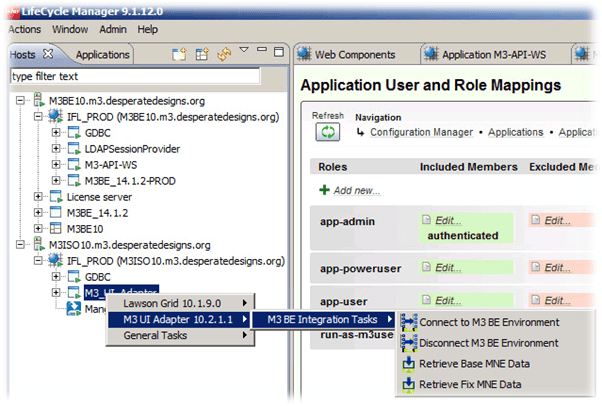
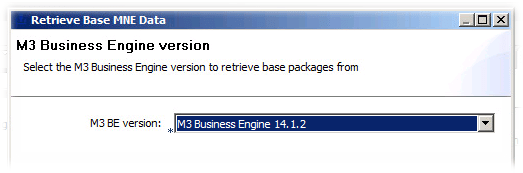
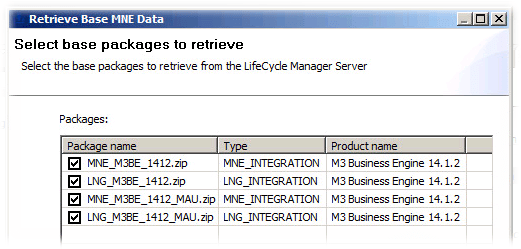
- From LCM -> M3_UI_Adapter -> M3 UI Adapter 10.2.1.1 -> M3 BE Integration Tasks -> Retrieve Base MNE Data
- Click Next
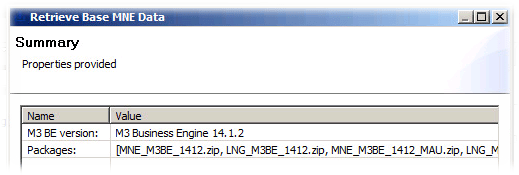
- Click Next
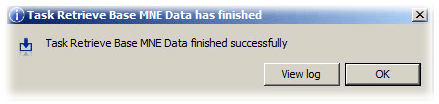
- Click Finish
- And we should get
- Stop the M3_UI_Adapter
- Start the M3_UI_Adapter

That’s most informative post series, I’ve read on M3 installations ever !
Thanks a lot!
aivaras