
This is a series of posts to build a M3 Lab from beginning to end so I get a better understanding of how all the components fit together. This is purely as a lab and doesn’t do any tuning and may even miss some version requirements.
Because there is a lot in the way of screenshots (these would have been invaluable as I was following the install guides!), I’m going to break this up in to 5 posts:
- Part 1 – Preparing the Servers, Installing SQL Server, LCM and loading the Foundational Components
- Part 2 – Installing the Business Engine, License Server and Create an Environment
- Part 3 – Installing and Creating the Grid
- Part 4 – Installing Smart Office
- Part 5 – All the fiddly bits, Regional Modifications, Autojobs
In this section I’ll run through installing and configuring the Grid, Grid Extensions (LDAP Session Provider and GDBC), M3APIWS and of-course the M3 BE interface to the Grid.
Ok, I’ll be the first to admit I’m a little bit of a child when it comes to this – I just like the word Gridification 🙂
But now that we have the environment created, we need to be able to go out and run things like Smart Office against the Business Engine – to run the shiny new Smart Office 10.1.x against our Business Engine, we’ll need to grid enable M3.
I must admit I was kinda intimidated by the prospect of meddling with this part – mainly because I didn’t really understand THE GRID, vs. the BE Interface to THE GRID – both of which are confusing called the grid but are different versions – perhaps it was more obvious to others. Eitherway, it wasn’t the drama I expected.
We need to install the grid and get Smart Office running so we can properly configure the Regional Modifications (I actually had gone through most of the steps to do the regional modifications when I encountered a step which required me to make some changes to the DB – I of-course considered sql’ing the data in but then thought I really better not.)
This is the ‘real’ grid. We will be installing the M3 BE Interface part of the grid later.
Uploading, Installing and Configuring THE GRID
Reference: GRIDIG_10.1.9.0_UWA.pdf
Files:
- Lawson_Grid_10.1.9.0.zip
- Grid_Extensions_10.1.9.1.lcm
- M3APIWS_2.0.zip
- Upload the Grid package to LCM (LCM -> Admin -> Admin View -> Upload

- Click yes with the verifying package

- You should get a message about the package being successfully uploaded
- Select Yes to update the LCM client

- Yup, we get the idea…

- Login again and you should see in the Admin View that we now have Lawson_Grid_10.1.9.0 under the registered products

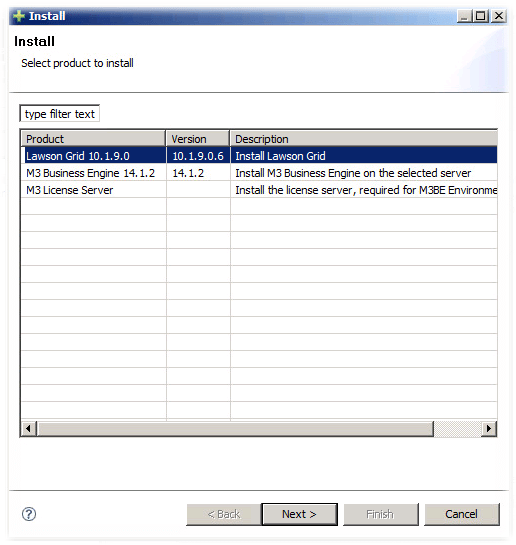
- Now to install, go Actions -> Install and select Lawson Grid 10.1.9.0
- My install will be called IFL_PROD, with an appropriate description and I’ll be selecting the LCMAdmins group

- I’m setting all of my addresses (Administrative Access, External Access) to the FQDN

- I have faith in the installers predefined ports, so no changes

- And the summary page

- Installation only took 3 or 4 minutes before being greeted with

- And now LCM shows this

Wahoo!
Uploading, Installing and Configuring the Grid Extensions (M3APIWS, LDAP Session Provider, GDBC)
Files: Grid_Extensions_10.1.9.1.lcm and M3APIWS_2.0.zip
- We’ll look at installing the Grid Extensions and M3APIWS now. In LCM -> Admin -> Admin View -> Upload

- Click on OK
- Click Yes

- Click on OK

- Log back in and if we look at the Applications tab we’ll see a heap of new entries

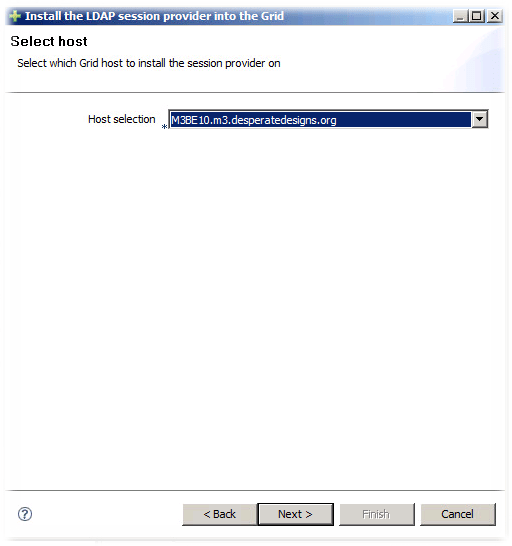
- We will be installing the LDAP session provider so we can authenticate against my LDAP source (Novell eDirectory). LCM -> Actions -> Install -> LDAP Session Provider 1.9

- I only have one grid at the moment, so click next

- Only one registered host, so click Next
- Summary page, click on Finish
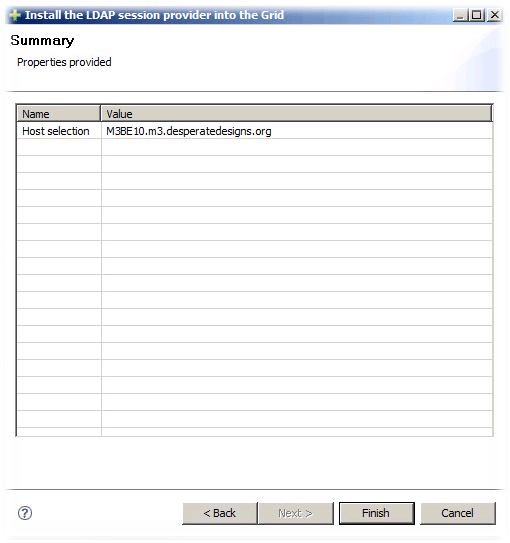
- And after 1 or 2 minutes we have success

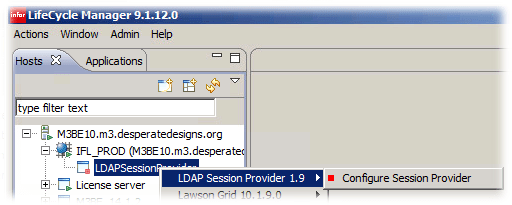
- Now we need to configure our Session Provider. In the Hosts tab -> IFL_PROD -> LDAPSessionProvider -> LDAP Session Provider 1.9 -> Configure Session Provider
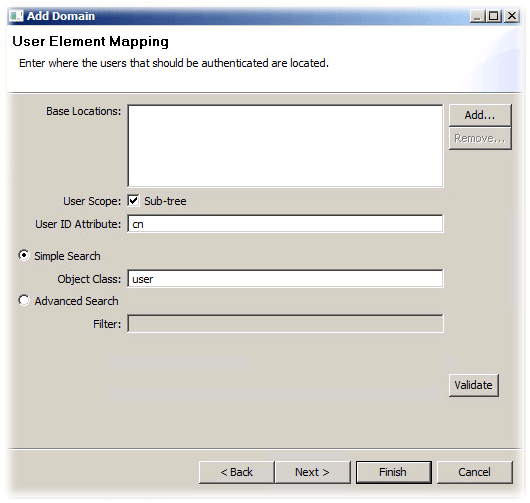
- I’ve entered my LDAP Server (10.255.255.14), we are using LDAP: not LDAPS:

- I need a user with read rights to my LDAP tree and the context to search

- The defaults here are suitable so Next
- Groups aren’t relevant to us, so finish
- Hit Save to save our config

- Now attempt to start the LDAP SessionProvider
- Now we shall install the Grid Database Connectivity Grid Extension. LCM -> Actions -> Install -> GDBC 2.0

- Still only one server, click Next

- We’ll run with the defaults and click Next

- And the summary, click Finish

- After about a minute, you should get something like this

- And it should start running automatically
- We will install the M3-API-WS and the LWS components later.
Install the M3 BE Grid
Reference: M3BEGIG_9.1.8.0_UWA.pdf
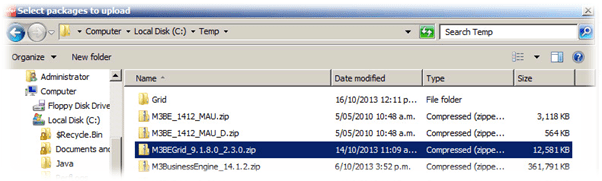
File: M3BEGrid_9.1.8.0_2.3.0.zip
- Upload the LCM -> Admin -> Admin View -> Upload. Select M3BEGrid_9.1.8.0_2.3.0.zip
- Verifying Packing, click Yes

- Registration Successful

- Click Yes

- Click Yes
- Now we have a new entry under the applications

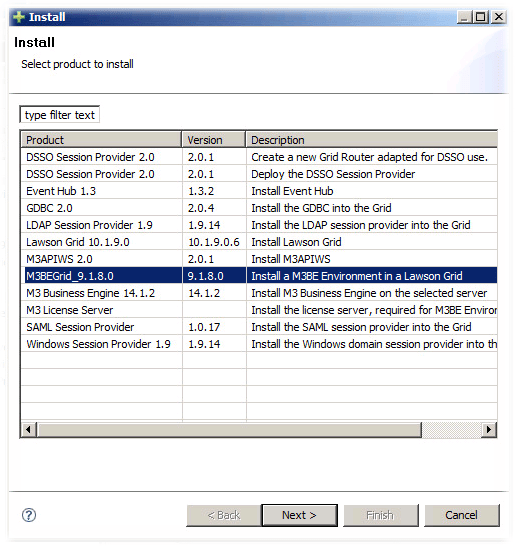
- Now we install the M3BEGrid. LCM -> Actions -> Install. Select M3BEGrid_9.1.8.0
- Only the 1 server at the moment, so click Next

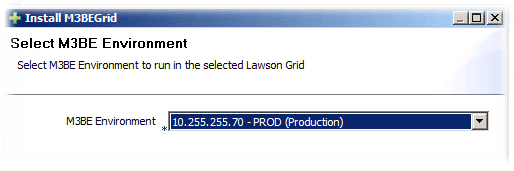
- Select the M3BE Environment we want to connect the grid to
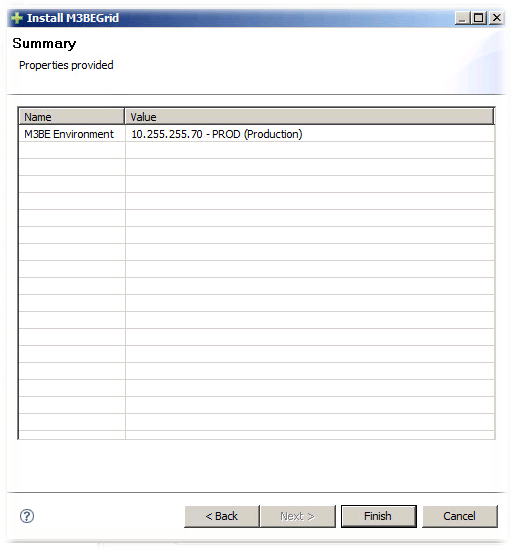
- Click Finish
- Installation took under a minute and you should get a successfully completed message
- Shutdown all of the grid components (GDBC, LDAPSessionProvider and IFL_PROD)
- Restart them (IFL_PROD, GDBC, LDAPSessionProvider, once they have started, start M3BE_14.1.2-PROD)

Install the M3 API WS
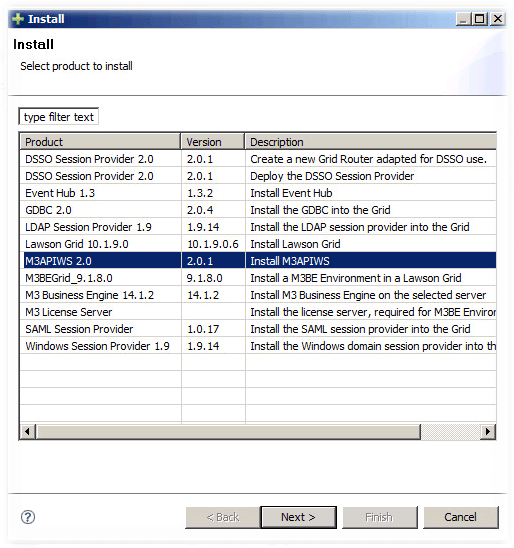
- LCM -> Actions -> Install -> M3APIWS 2.0
- Only the 1 server, next
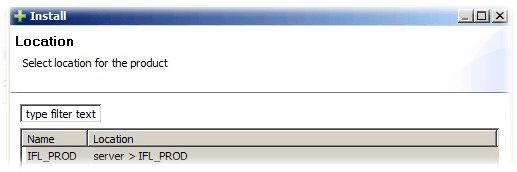
- Only 1 host, next

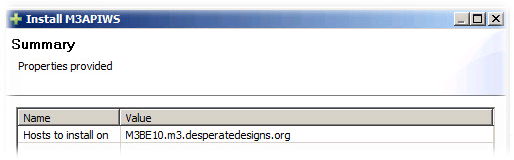
- Summary, click finish
- This should take under a minute to install and you should get a task install finished message
- This will automatically start

Pingback: Building an Infor Grid Lab – Part 1 – M3 ideas