
This is a series of posts to build a M3 Lab from beginning to end so I get a better understanding of how all the components fit together. This is purely as a lab and doesn’t do any tuning and may even miss some version requirements.
Because there is a lot in the way of screenshots (these would have been invaluable as I was following the install guides!), I’m going to break this up in to 5 posts:
- Part 1 – Preparing the Servers, Installing SQL Server, LCM and loading the Foundational Components
- Part 2 – Installing the Business Engine, License Server and Create an Environment
- Part 3 – Installing and Creating the Grid
- Part 4 – Installing Smart Office
- Part 5 – All the fiddly bits, Regional Modifications, Autojobs
This part will see us install the M3 BE and create our environment.
Install the M3 Business Engine
- In LCM -> Actions -> Install
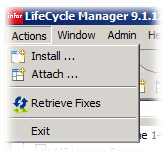
- Select the M3 Business Engine 14.1.2

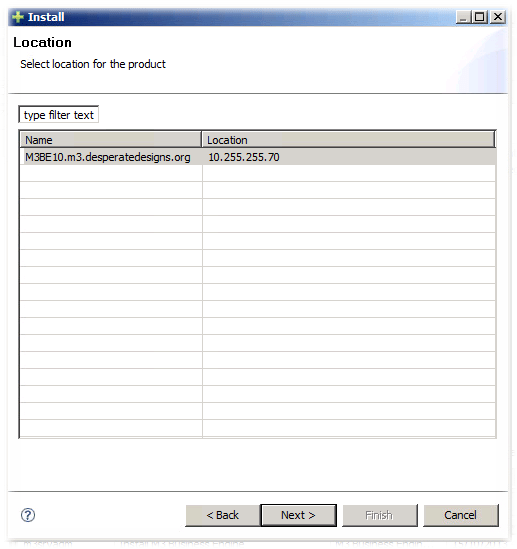
Click Next - Select the server to install on (I only have one registered at the moment)

Click Next - Now we need to specify where things are going

On the installation path, click Select - I’m going to install to C:\M3BE_PROD
- By Default JVM Path, click on Select
- Fill in the Description

And click Next - We get a summary
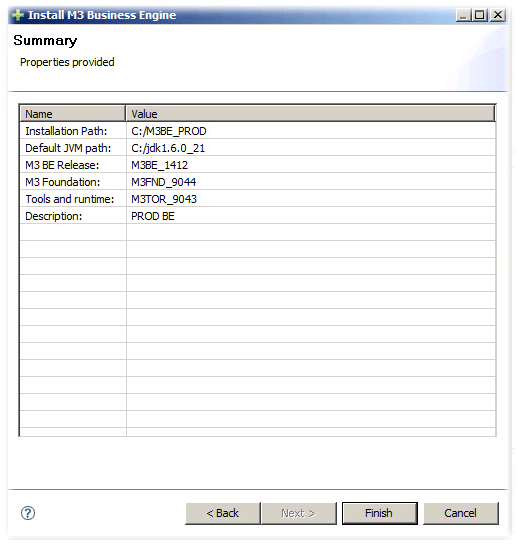
Click Finish - And the install begins, on my home server it took around 5 minutes before I got

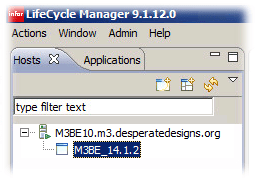
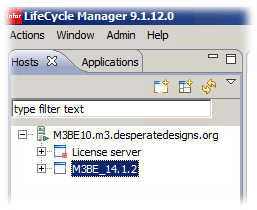
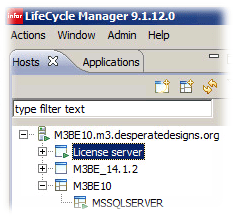
- Exporting our ME server we now see a M3BE_14.1.2 entry
Installing the M3 License Server
So now we need to install the licensing server.
Referencing: M3BEIG_14.1.2.0_W.pdf
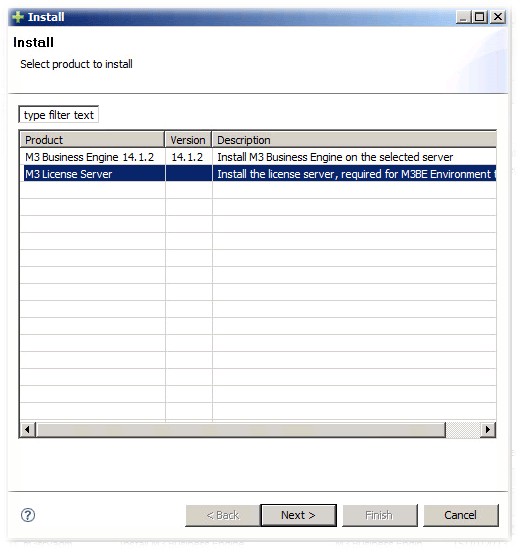
- In LifeCycle Manager Click Actions -> Install
- Select the m3 License Server
- Select the server you want to install on
- Leave the License Server Version as the default

- On the License Server I am going to set the installation path to C:\M3BE_LicenseServer and the Admin group to LCMAdmins. The rest will be left as the default

- And we get the summary screen. Click on Finish to begin

- The installation takes a few seconds and you should get a installation complete option. You should also see the License Server in your hosts tree in LCM
- At this point you can add things like your mail server to the licserver.properties (located under C:\M3BE_LicenseServer) but as this is a lab, I don’t really care so I will skip this step.
- In LCM, right click on the License server -> M3 License Server -> Start
And everything going well, it should start without issue
It was at this point I was wondering about the license key, and there is a little note in the installation guide which says that updating the License Server key is only possible after the environment is created. So we need to move on to the environment creation.
Create the Environment and Database
The next thing on our list if the creation of the Environment and the Database
As per M3BEIG_14.1.2.0_W.pdf
- Attach the SQL Server that will act as our database for the environment. In LCM -> Actions -> Attach
- Select Microsoft SQL Server
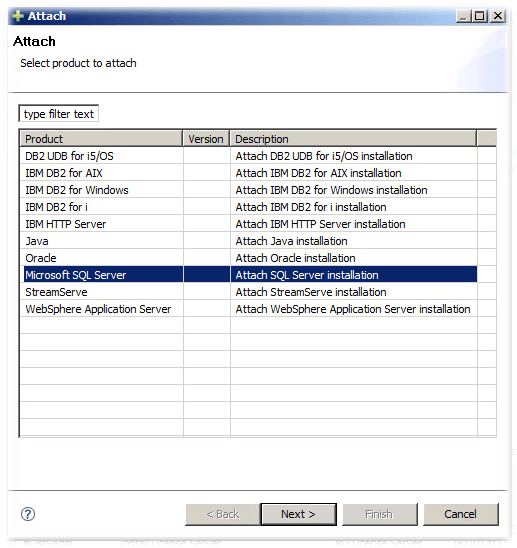
- Select the server where our SQL Server is installed

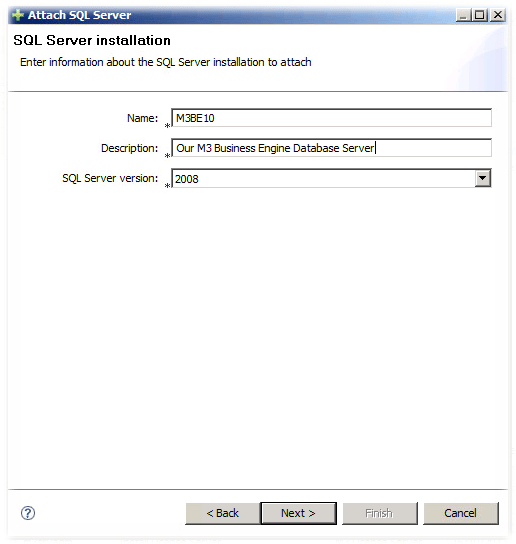
- Provide a name for the database host and description. Also set the SQL Server Version
- Now we get a summary. Click on Finish

- After a second or two you should get a task finished

- And in the hosts tab in LCM you should see M3BE10 and if you expand that out our MSSQLServer Entry
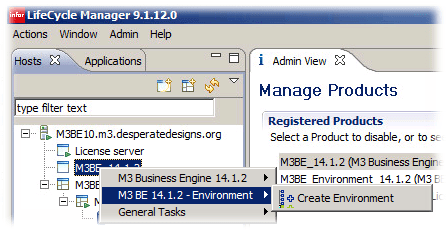
- Create an environment – in LCM right click M3BE_14.1.2 -> M3 BE 14.1.2 – Environment -> Create Environment
- I’m calling my Environment PROD, filling in the description and I’ll leave the port prefix alone

- I’ll set my new database name to M3EDTPRD, this should create a new DB for us
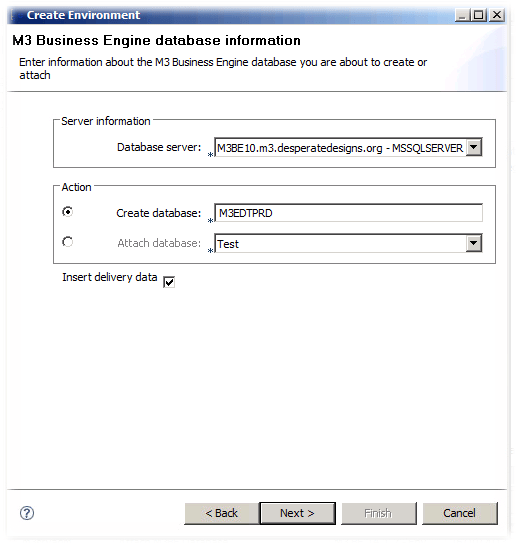
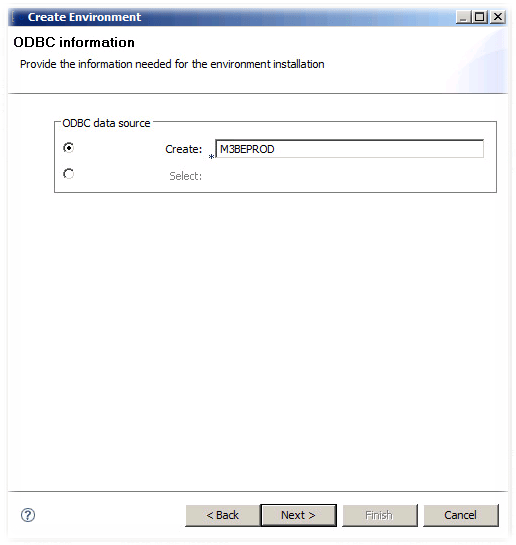
I was going to call it M3EDTPROD however there was a note that the db name should be < 8 characters 😦 - Helpfully the create process will create a ODBC datasource for us. I’m going to call it M3BEPROD
- Enter the SQL Server information. You’ll need to set the transaction log/tables/indexes paths. I’ve done mine as follows for ease

- Now we are prompted to set up some users. Key in the passwords. I’ve left the license key alone as it is apparently valid indefinitely and for 10 users – I can’t see my lab getting more than 2 users.
Also, the installation guide notes the passwords need to be >8 characters with a mix of alphanumeric and special characters
I’m going to use M3BEProd - Now we have a summary, click on Finish

- The creation time took a little under 10 minutes on my system – this will go out and create the database structure

LCM shows the environment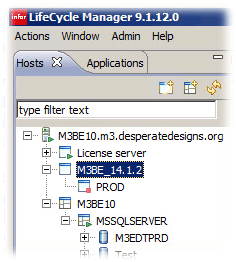
And the BE directory structure under our environment

very useful
Scott, thanks for this great series. It is difficult to find M3 resources and this was quite helpful.
– Bryan
Hi Scott, We are trying to install m3 BE 15.1.4 in test environment and facing some authentication issue while logging in M3 UI adapter. Your installation steps are really detailed, but I see lot of changes in the components of latest version. Have you tried installing the latest version by any chance? If so can you please share the screenshots.
Thanks in advance.
Regards
Venkatesh
Hi Venkatesh,
yes, I’ve done some 15.1.4 installs, and sorry, no I don’t have anything that I can post at this point.
I’m assuming you’re using SAML? If so there are a lot of things that may be misconfigured. Your best bet would be to log an issue with support.
Though LDAP doesn’t appear to be supported, my first test install used LDAP successfully, so you could test that LDAP works.
Cheers,
Scott